
See the instructions to Create a virtual machine by using Hyper-V Manager
Install Ubuntu Server (just hit enter)

Choose Language: English

- Location: United States
- Configure keyboard: Choose your keyboard or use automatic detection. Having the right keyboard will help you to type correctly the password later.
- If the network of your vSwitch have DHCP, the installation continue automatically, if not please setup IP/mask/GW and DNS IPs manually
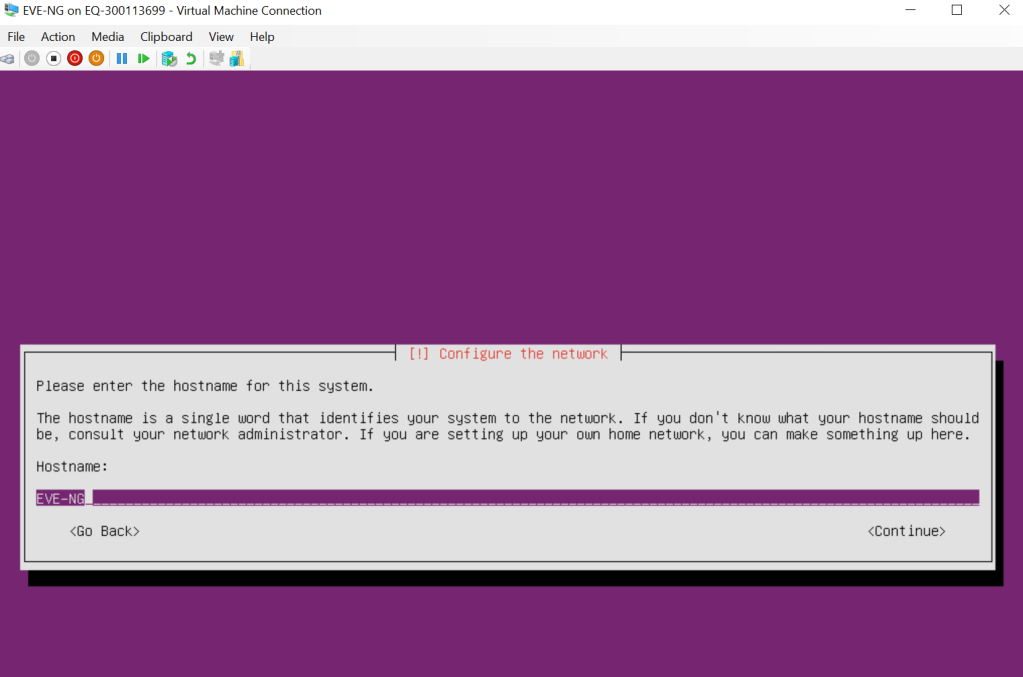
- Hostname: In our Case EVE-NG
- Domain name: anything you want, or example.com
- Full name of user: Type your name.
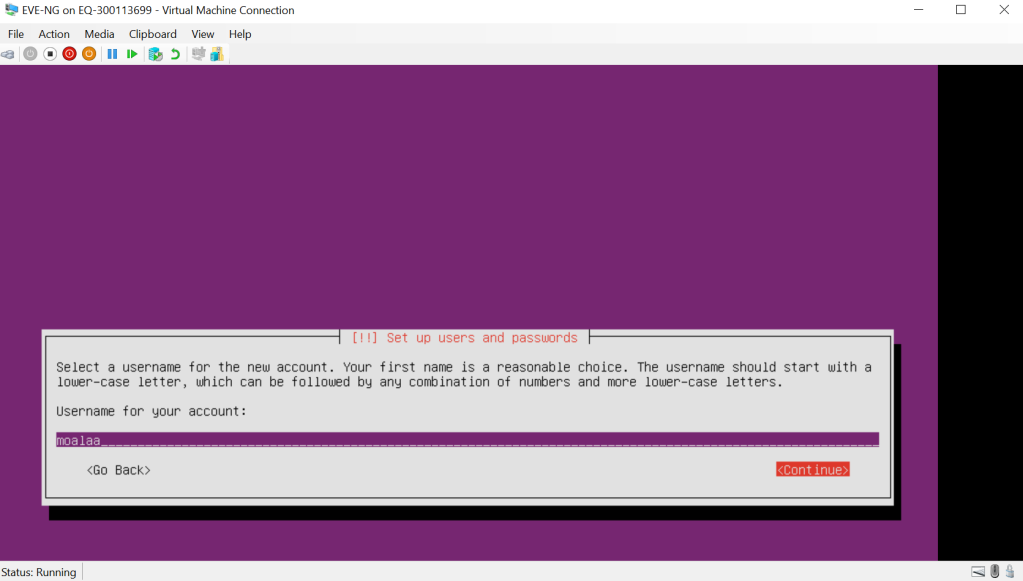
- Username of your account: user (this will be used first time login in to Ubuntu)
- Password: enter password, confirm enter password again
- Use weak password: YES (you will see it only if you entered a weak password above)
- Encrypt your home directory: NO
- Configure Clock: if your DNS IP is set right, time zone is set automatically
- Partition disks: use entire disk and setup LVM
- Partition disks: As you have only one disk, just click continue
- Write changes to disk and create LVM: YES
- Amount of volume: leave the entire offered size
- Force UEFI Installation: YES
- Write changes to disk: YES
- Http proxy: NO. Except if you are using a proxy, then configure it for internet reachability.
- Configuring task: Install security updates automatically
- Software selection: IMPORTANT: add Open SSH server to the selection (mark with spacebar).

- Install GRUB boot loader: YES (must be automatic)
- At the end of the installation: reboot
After the reboot, stay on the Hyper-V terminal of your VM to change some first settings. After that, we will use SSH.
Login with your user created during the installation part and get root access:

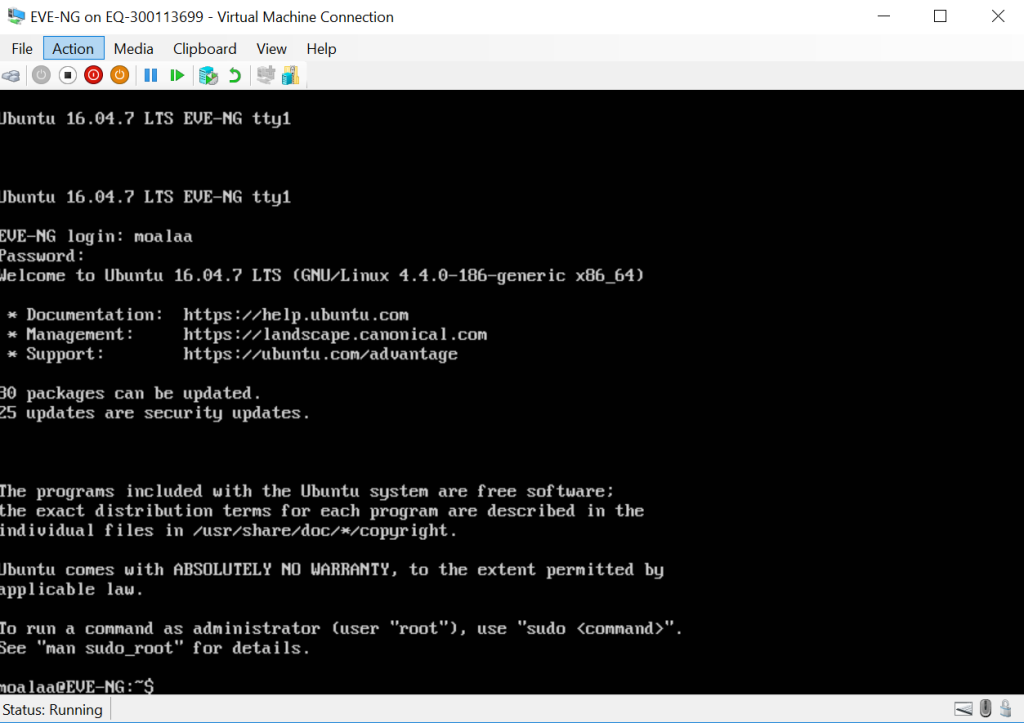
moalaa@EVE-NG:~$ sudo su
[sudo] password for moalaa:
root@EVE-NG:/home/moalaa#
root@EVE-NG:/home/moalaa#
Change the root password. Here you can choose your own root password:
root@EVE-NG:/home/moalaa# sudo passwd root
Enter new UNIX password:
Retype new UNIX password:
passwd: password updated successfully
root@EVE-NG:/home/moalaa#
Check the Internet access and the domain-name resolution, with the command:
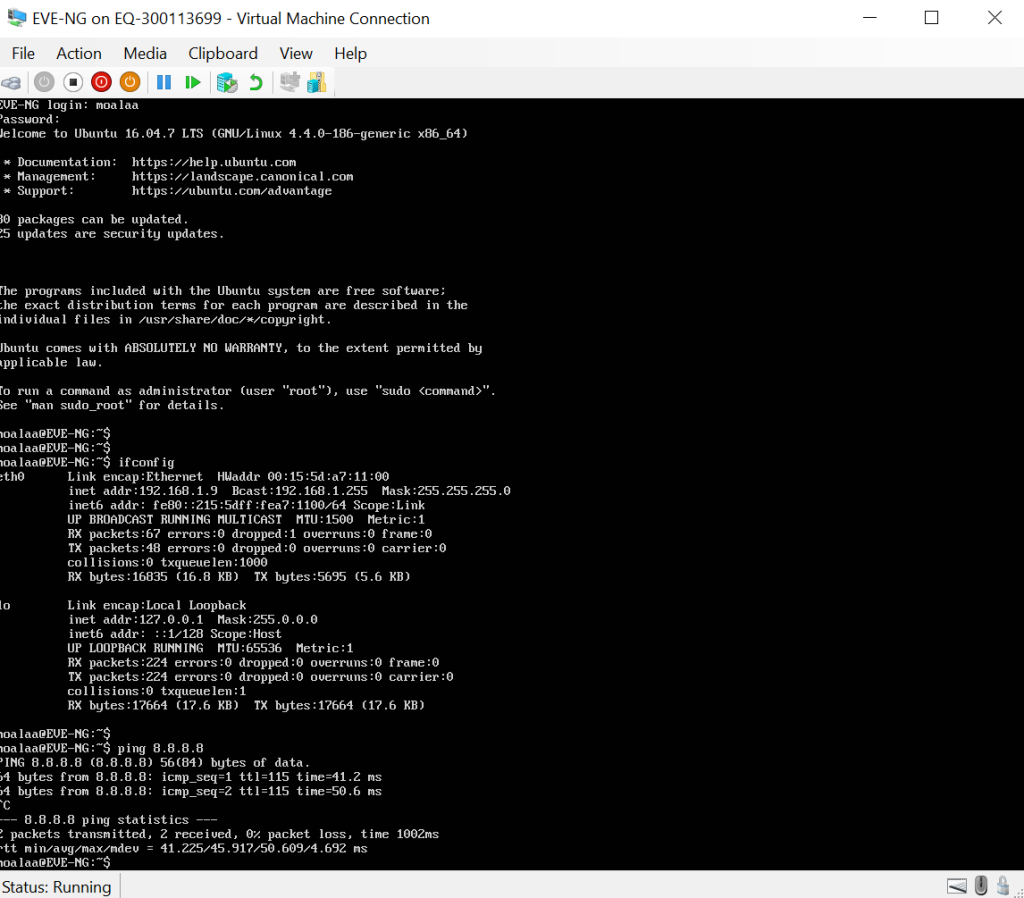
root@EVE-NG:/home/moalaa# ifconfig
eth0      Link encap:Ethernet  HWaddr 00:15:5d:a7:11:00
          inet addr:192.168.1.9  Bcast:192.168.1.255  Mask:255.255.255.0
          inet6 addr: fe80::215:5dff:fea7:1100/64 Scope:Link
          UP BROADCAST RUNNING MULTICAST  MTU:1500  Metric:1
          RX packets:1090 errors:0 dropped:1 overruns:0 frame:0
          TX packets:178 errors:0 dropped:0 overruns:0 carrier:0
          collisions:0 txqueuelen:1000
          RX bytes:112432 (112.4 KB)  TX bytes:24411 (24.4 KB)

lo        Link encap:Local Loopback
          inet addr:127.0.0.1  Mask:255.0.0.0
          inet6 addr: ::1/128 Scope:Host
          UP LOOPBACK RUNNING  MTU:65536  Metric:1
          RX packets:224 errors:0 dropped:0 overruns:0 frame:0
          TX packets:224 errors:0 dropped:0 overruns:0 carrier:0
          collisions:0 txqueuelen:1
          RX bytes:17664 (17.6 KB)  TX bytes:17664 (17.6 KB)

root@EVE-NG:/home/moalaa#

root@EVE-NG:/home/moalaa# ping google.com
PING google.com (172.217.21.14) 56(84) bytes of data.
64 bytes from mrs09s10-in-f14.1e100.net (172.217.21.14): icmp_seq=1 ttl=116 time=42.7 ms
64 bytes from mrs09s10-in-f14.1e100.net (172.217.21.14): icmp_seq=2 ttl=116 time=47.8 ms
64 bytes from mrs09s10-in-f14.1e100.net (172.217.21.14): icmp_seq=3 ttl=116 time=56.3 ms
^C
--- google.com ping statistics ---
3 packets transmitted, 3 received, 0% packet loss, time 2002ms
rtt min/avg/max/mdev = 42.789/49.012/56.374/5.607 ms
root@EVE-NG:/home/moalaa#
Check for updates by using the command “sudo apt-get update“.
moalaa@EVE-NG:~$ sudo apt-get update
Get:1 http://security.ubuntu.com/ubuntu xenial-security InRelease [109 kB]
Hit:2 http://us.archive.ubuntu.com/ubuntu xenial InRelease
Get:3 http://us.archive.ubuntu.com/ubuntu xenial-updates InRelease [109 kB]
Get:4 http://us.archive.ubuntu.com/ubuntu xenial-backports InRelease [107 kB]
Fetched 325 kB in 2s (151 kB/s)
Reading package lists... Done
moalaa@EVE-NG:~$
To install the latest versions of all the installed packages on your system, use the command”sudo apt-get upgrade“.
moalaa@EVE-NG:~$ sudo apt-get upgrade
Reading package lists... Done
Building dependency tree
Reading state information... Done
Calculating upgrade... Done
The following packages have been kept back:
  base-files linux-generic linux-headers-generic linux-image-generic ubuntu-server
The following packages will be upgraded:
  bind9-host curl dnsutils libbind9-140 libcurl3-gnutls libdns-export162 libdns162 libisc-export160 libisc160 libisccc140 libisccfg140 liblwres141
  libx11-6 libx11-data linux-signed-generic python3-software-properties software-properties-common ubuntu-minimal ubuntu-standard
19 upgraded, 0 newly installed, 0 to remove and 5 not upgraded.
Need to get 3,203 kB of archives.
After this operation, 13.3 kB of additional disk space will be used.
Do you want to continue? [Y/n] y
Congratulations! You are done with the installation.

[…] See the instructions to How to Install Ubuntu Server 16.04 in a Hyper-V Generation 2 VM […]
LikeLike