
- Open Hyper-V Manager.
- From the Action pane, click New, and then click Virtual Machine.
- From the New Virtual Machine Wizard, click Next.
- From the Wizard type your VM Name

5. Choose Generation 2

6. Startup Memory: I have 8GB on my laptop, so I assigned 6GB, but it depends on your own machine. With dynamic memory enabled.

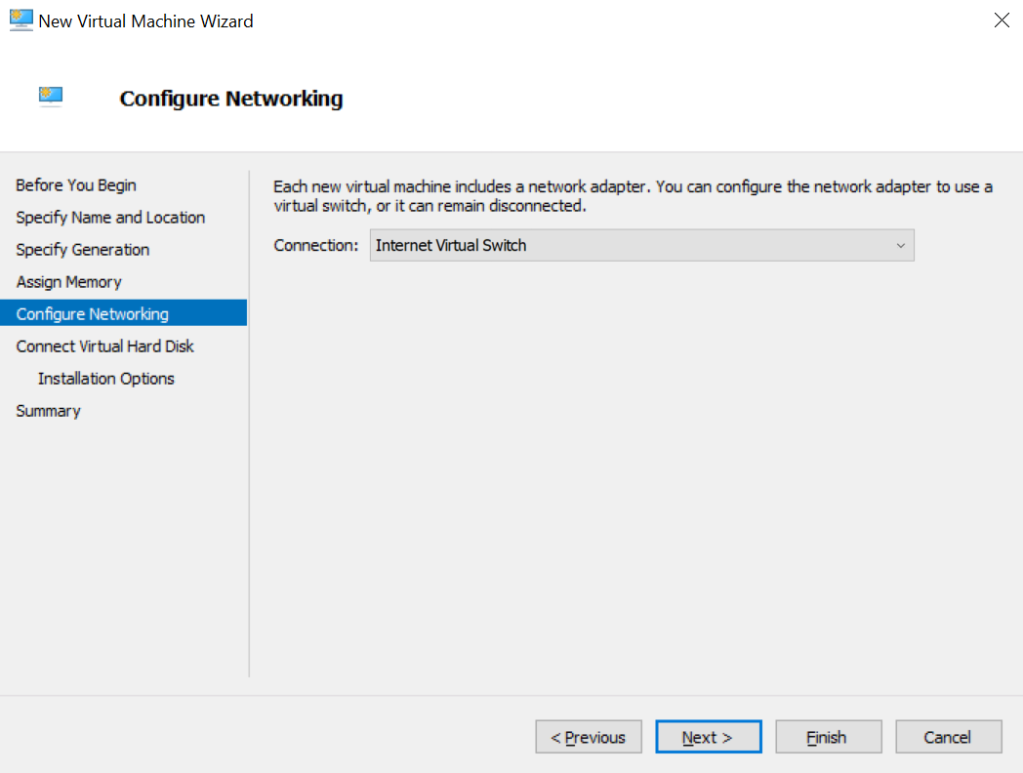
- 7. Networking: use a vSwitch already existing, connected to the Internet. You should have Internet access during the installation, for the updates.
See the instructions to Create a Virtual Switch with Hyper-V Manager with Internet access
8. Hard-Disk: create a virtual hard-disk, I assigned 100GB.

9. Install the operating system from a bootable image file: and specify your OS ISO image, in our case Ubuntu server 16.04.

- Click next, then finish. Hyper-V will now create your VM.
- Once created, on Hyper-V, select your VM, right-click and choose Settings…
- Go under Security and disable Secure Boot. Otherwise the boot with the ISO will not start.

- Go under Processor and increase the number of virtual processors, according to your hardware.

- Click OK.
- Connect to the VM and start it. The Ubuntu installation will start, with this message:

Follow installation instructions to complete installing Ubuntu server
See the instructions to How to Install Ubuntu Server 16.04 in a Hyper-V Generation 2 VM


[…] See the instructions to Create a virtual machine by using Hyper-V Manager […]
LikeLike