
- Open Hyper-V Manager. A quick way to do this is by hitting the Windows button or key then type “Hyper-V Manager”.
If search doesn’t find Hyper-V Manager, Hyper-V or the Hyper-V management tools are not enabled. See the instructions to enable Hyper-V. - Select the server in the left pane, or click “Connect to Server…” in the right pane.
- In Hyper-V Manager, select Virtual Switch Manager… from the ‘Actions’ menu on the right.
- Under the ‘Virtual Switches’ section, select New virtual network switch.
- Under ‘What type of virtual switch do you want to create?’, select External.
- Select the Create Virtual Switch button.
- Under ‘Virtual Switch Properties’, give the new switch a name such as External VM Switch.
- Under ‘Connection Type’, ensure that External Network has been selected.
- Select the physical network card to be paired with the new virtual switch. This is the network card that is physically connected to the network.

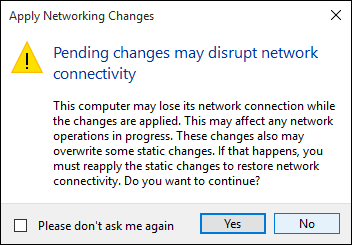
Select Apply to create the virtual switch. At this point you will most likely see the following message. Click Yes to continue.
Select OK to close the Virtual Switch Manager Window.

[…] Networking: use a vSwitch already existing, connected to the Internet. You should have Internet access during the installation, for the updates.See the instructions to Create a Virtual Switch with Hyper-V Manager with Internet access […]
LikeLike